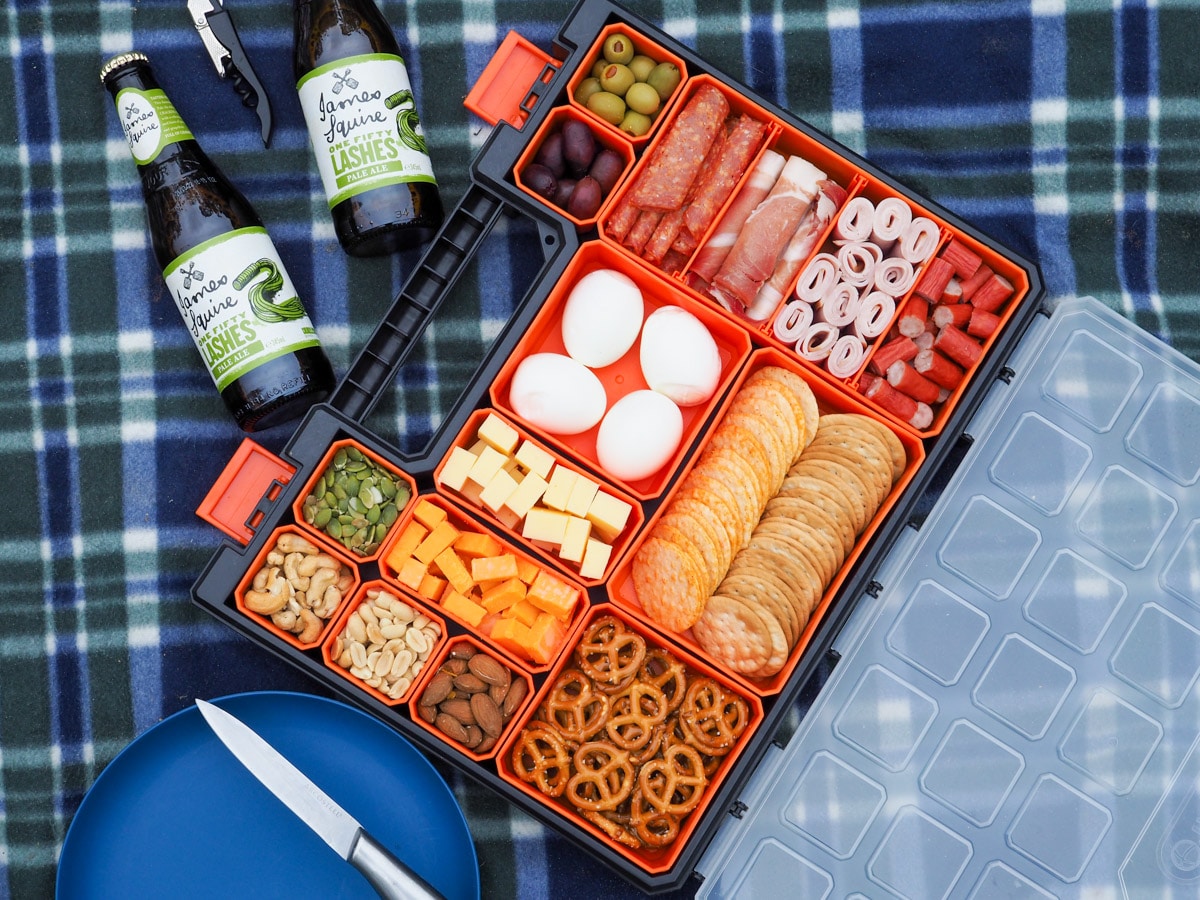
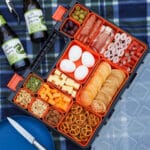
This picnic charcuterie board, or snackle box, makes the ultimate easy and fun portable food. Perfect for a picnic or a camping or fishing trip. Did someone say snack attack?
Jump to:
Everyone loves a good charcuterie board right? A delicious array of things to eat from deli meats and cheeses to olives and crackers. They are tasty and perfect for sharing. But kinda hard to transport.
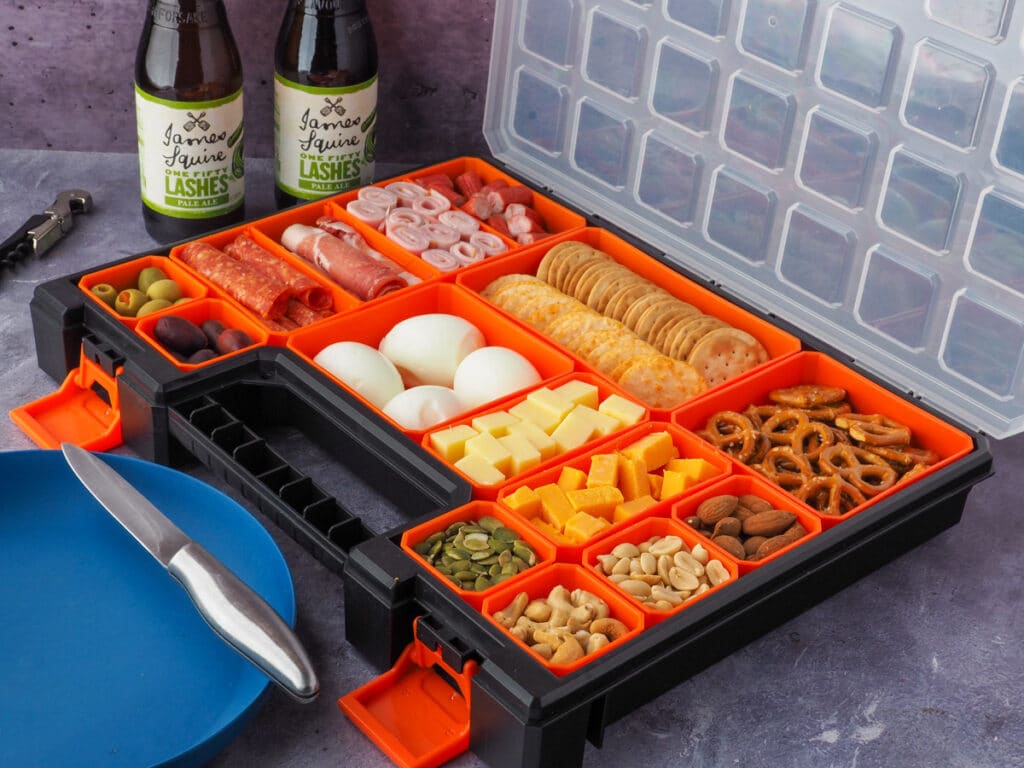
Not anymore. I present to you the picnic charcuterie board. A snackable? A bucuterie board? (That's Bunnings crossed with charcuterie because that's where I got the box from (not sponsored, just I'm an Aussie and that's where we go on the weekend . . .)) All made possible with this simple snack hack. You know those boxes with multiple compartments that are used for storing everything from fishing tackle to nuts and bolts? Well it turns out they also make the ultimate easy portable charcuterie board.
Fill it up with an array of delicious eats, snap the lid on and you're on track for an epic picnic, fishing or camping trip! Did someone say snack attack?
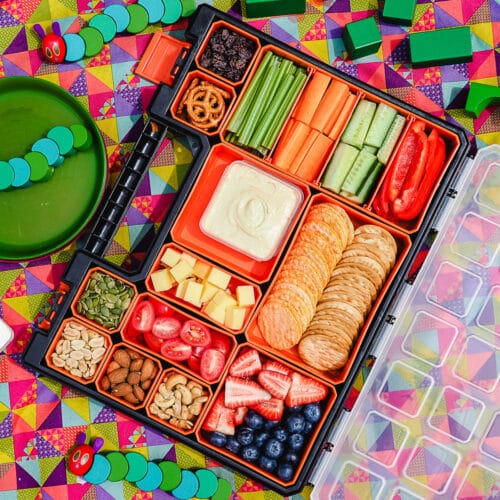
Looking for a more kid friendly version? Why not try making my kids charcuterie board. Same great portability but with more kid-friendly flavours.
Tips and tricks for making a picnic charcuterie board
What sort of box should I use?
One with multiple compartments with a good snap-on lid. You can get boxes with different types of compartments. Some are a single cavity with multiple pieces you can move around to make bigger or smaller compartments. There's no proper seal between the compartments and anything wet could leak between them. This is fine for Completely dry food. But it does limit the food you can pack in them. The better, usually slightly more expensive option is to get one with individual compartments you can pull out. I picked up a box with 15 different compartments. Only one has partial/removable dividers, the rest are all separate. It's also much easier to clean, just pull out the compartments, wash and dry.
It's also good to look out for molded lids that fit into and help seal and separate each compartment
What sort of food can I put in the box?
Dryer ingredients without much wet/ozzyness is a better option or at least things you can pat try. Good options include deli meats, cheese, nuts and crackers. Some things such as olives you can well pat dry to reduce their wetness and chance of leaking between boxes.
How do I transport the box?
For best results transport the box flat. This will reduce the chance of the food mixing together between compartments. Ideally pop it into an esky/chilly bin/icebox if you have one that it will fit into flat (I don't) or else wrap them up with some freezer blocks and a towel to keep it cool.
Ingredients
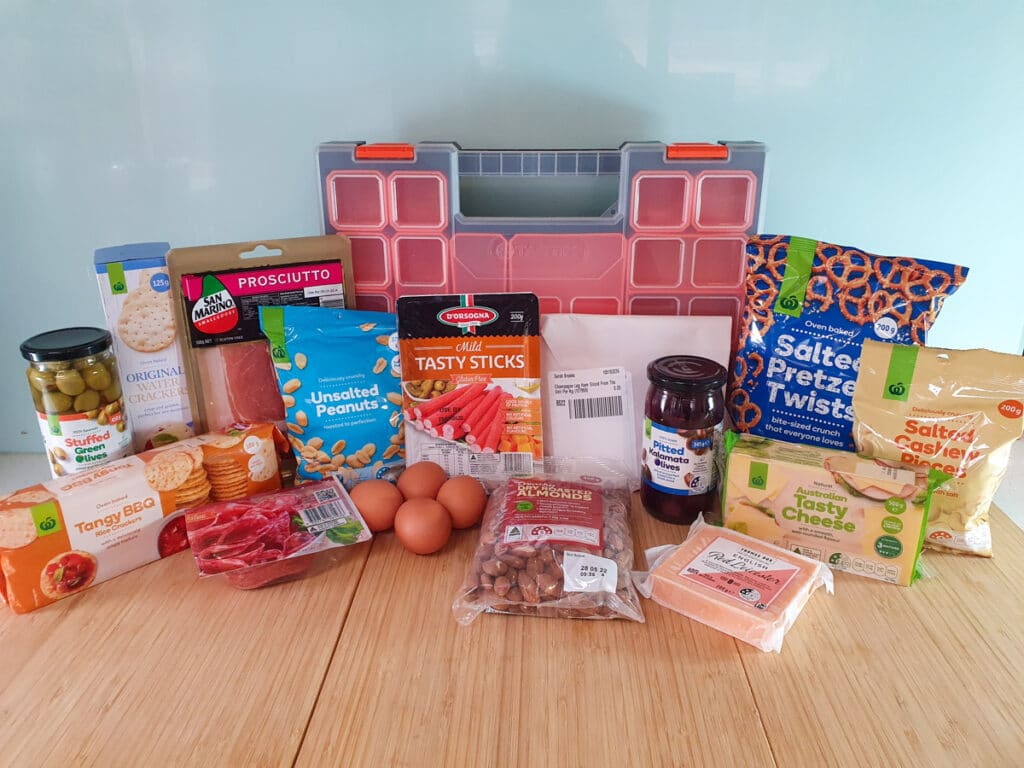
Deli meats: a selection of deli meats is the heart and soul of many good charcuterie boards. I like to use a selection of salami, ham, prosciutto and twiggy sticks. You could also use any other deli meats you like such as kabana, pastrami, silverside, chorizo etc, whatever floats your meaty boat. Just make sure the meat is sliced before you put it in.
Eggs: hard-boiled eggs are an easy addition to this picnic and are the only thing that needs cooking beforehand. If you are heading off early you could even boil them up the night beforehand.
Olives: olives, you either love em or hate em. And I Love em. Salty squishy savory goodness. Choose a couple of different ones, I like the stuffed green olives and plump kalamatas, but use whatever type you like. Pitted olives are best, no messing around with trying to dispose of the pits.
Cheese: hard cheese works best in this portable charcuterie board. I've used good old tasty cheese and some red Leicester but use whatever type you like. Some other great options include swiss cheese (you know the one with the holes in it), or something with some bite like peppercorn or chilli.
Crackers: what's a good charcuterie board without crackers? Keep things simple with water crackers or mix things up with flavored crackers. I've used plain water crackers and BBQ rice crackers in this board.
Nuts: easy? tick. Salty? tick. Savory and delicious? tick tick. A variety of nuts works wonderfully in this portable snack board. I used peanuts, cashews, almonds and I've even snuck in some pumpkin seeds (aka pepitas). The only problem is this Almost counts as healthy, shhhhh!
Pretzels: Are an easy way to add some salty crunch. You'll want to use one of the larger compartments for these, but let's face it you might as well bring the whole bag, one or two is never enough!
How to make a picnic charcuterie board
First make sure your multiple compartment container is clean and dry.
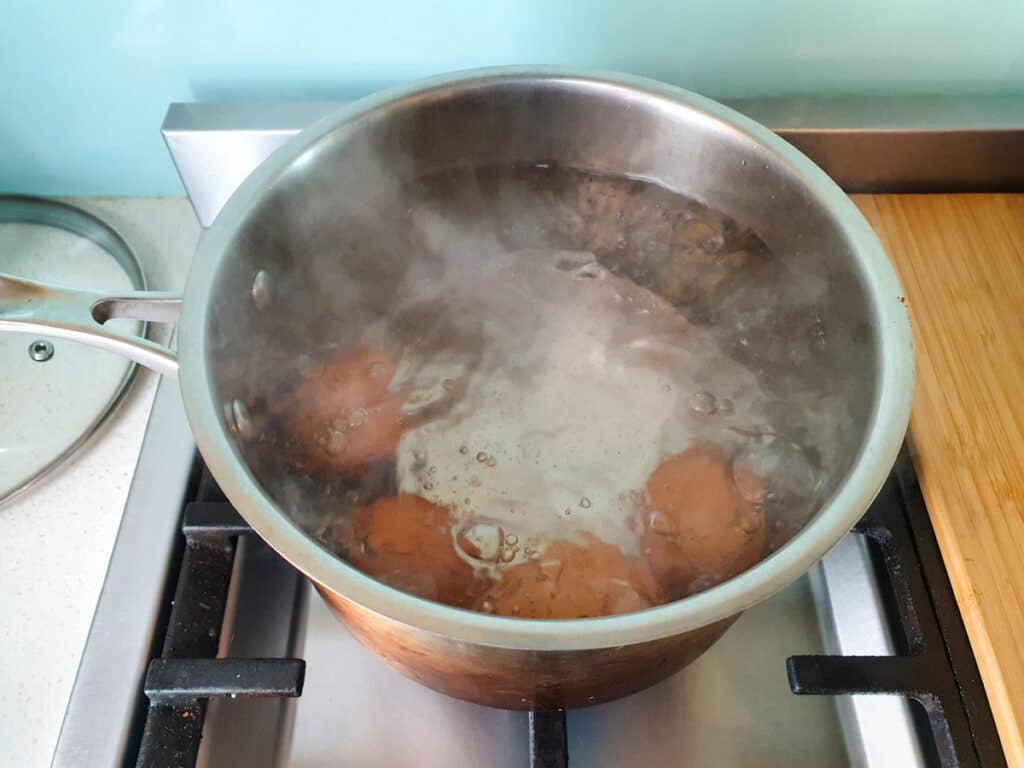
Hard boil the eggs first. Add the eggs to a good heavy-bottomed pot and fill until the eggs are covered by about an inch of water. Put onto high heat and bring to a rapid/roiling boil. Cover with a lid, turn off the heat. Leave the eggs alone, lid on, until desired cooking time is reached. About four minutes for soft center all the way up to ten minutes for fully hard-boiled eggs. For transport I recommend more on the hard-boiled rather than soft-boiled side. Put the eggs into a bowl of cold water (preferably iced) to cool down for about ten minutes.
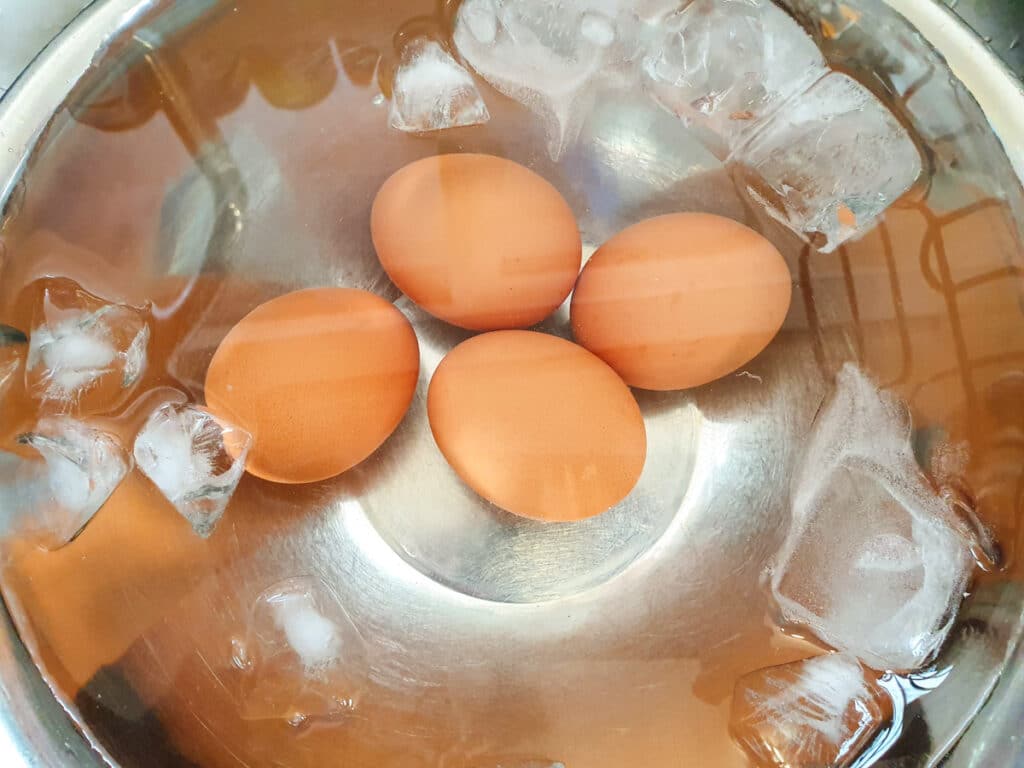
Once the eggs are cool peel and put them into the right-sized compartment in your multi-compartment container. Drain the olives well and pat them dry with a paper towel. This will help stop leaks between compartments.
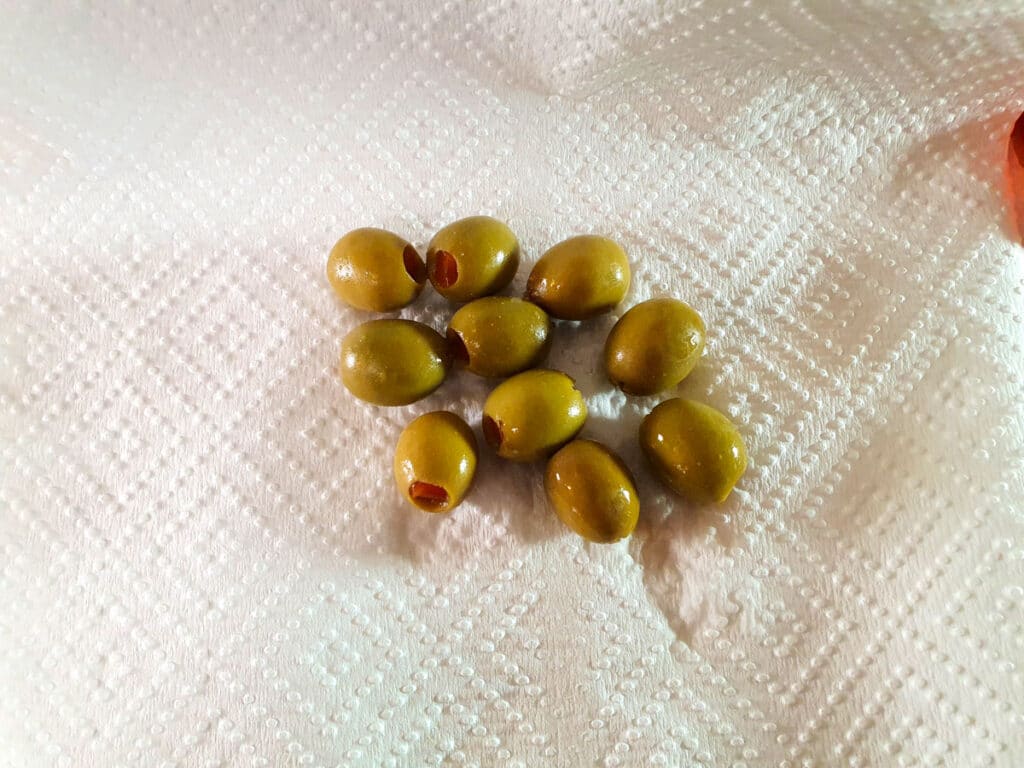
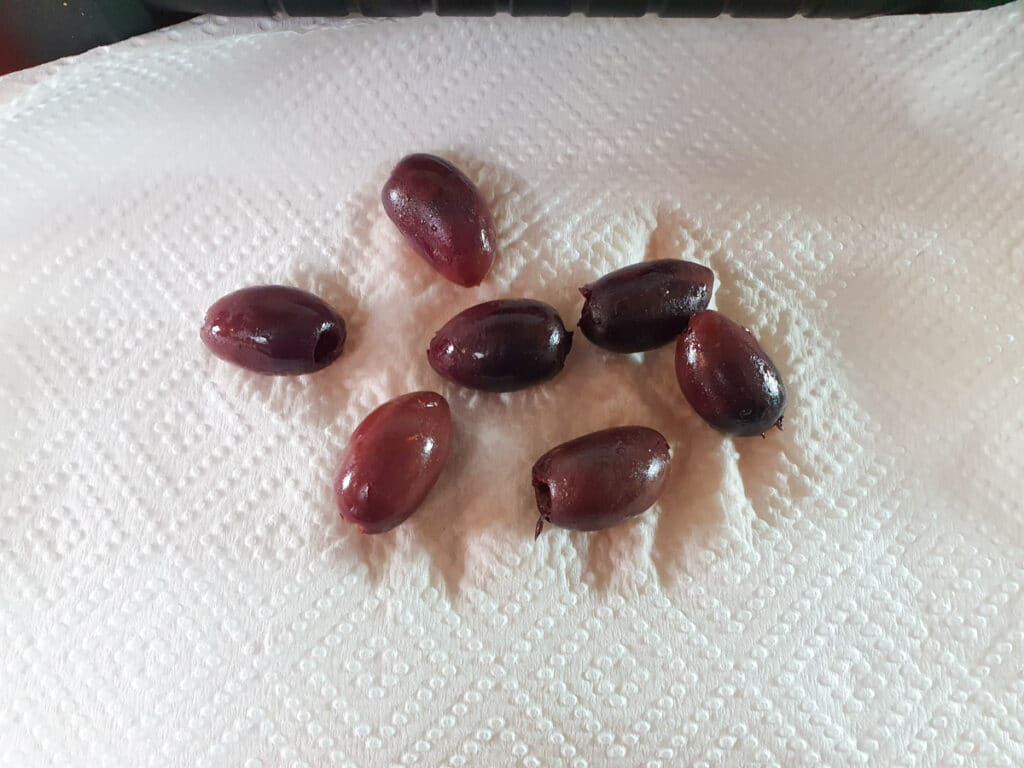
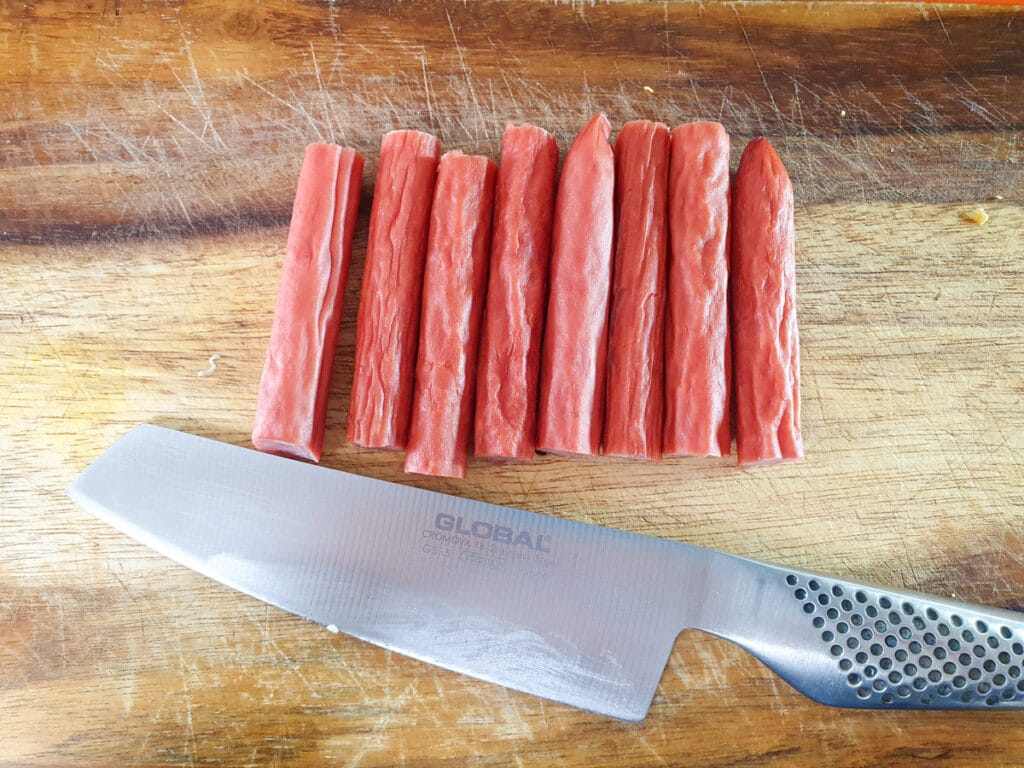
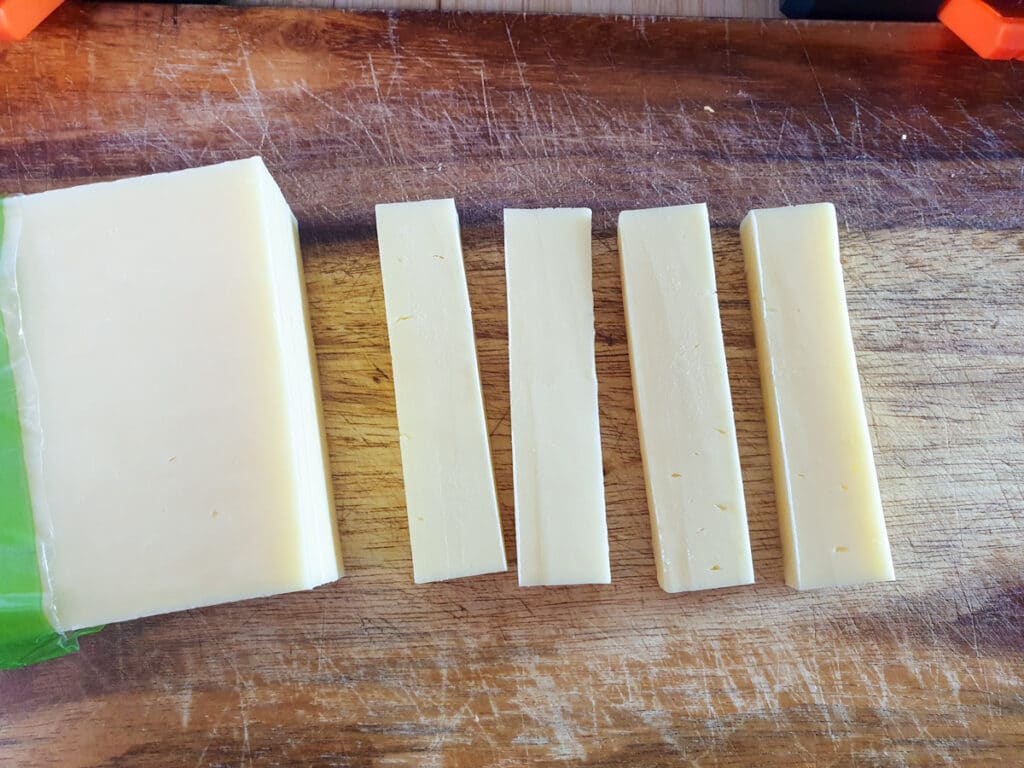
Slice the cheese and deli meats into finger food size pieces and put them into different compartments. If you can be bothered, and want to be a little la de dah you can of course roll the meats into nice little bite sizes rolls. Up to you if you remove some of the larger bits of fat or not from the prosciutto. Otherwise just chuck it in! Add the nuts, pumpkin seeds and pretzels to different compartments. Snap on the lid and you're done!
How to transport and serve
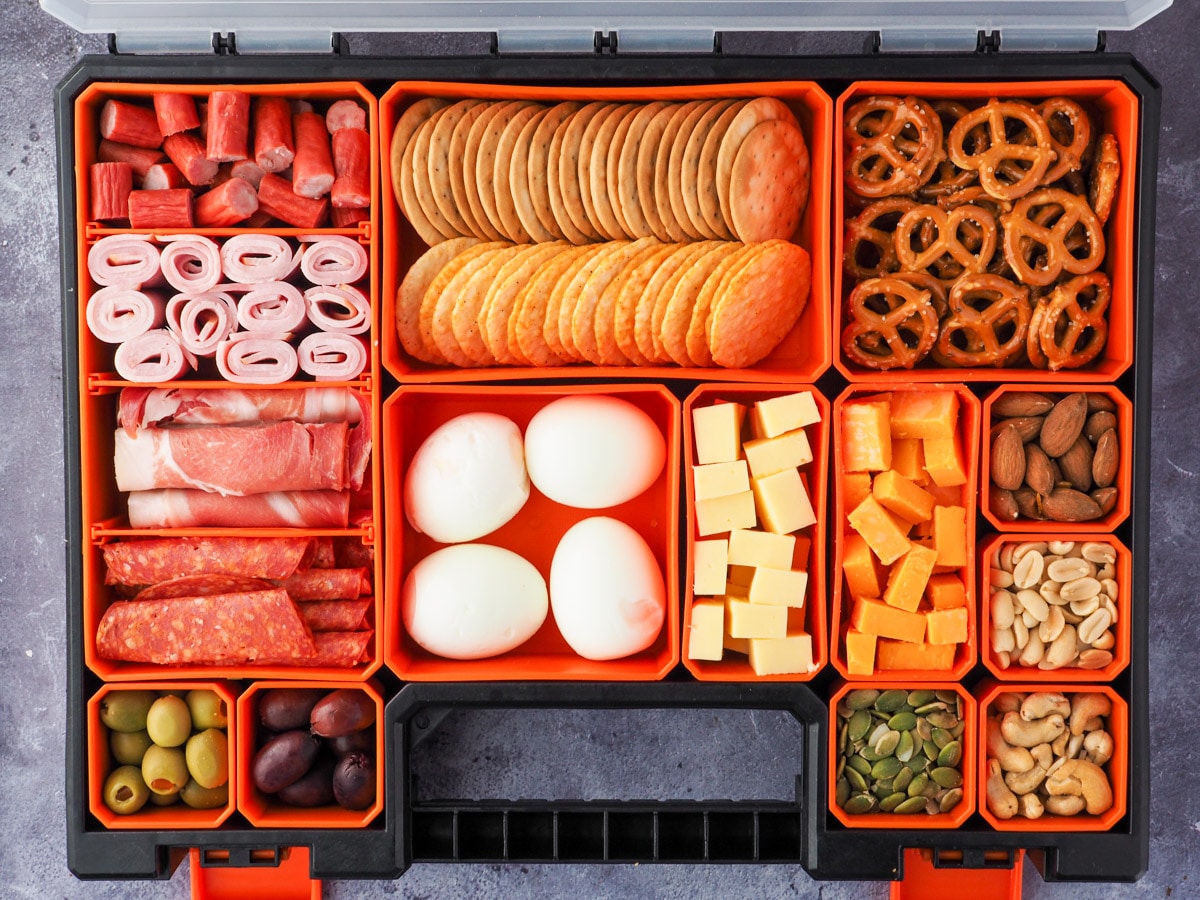
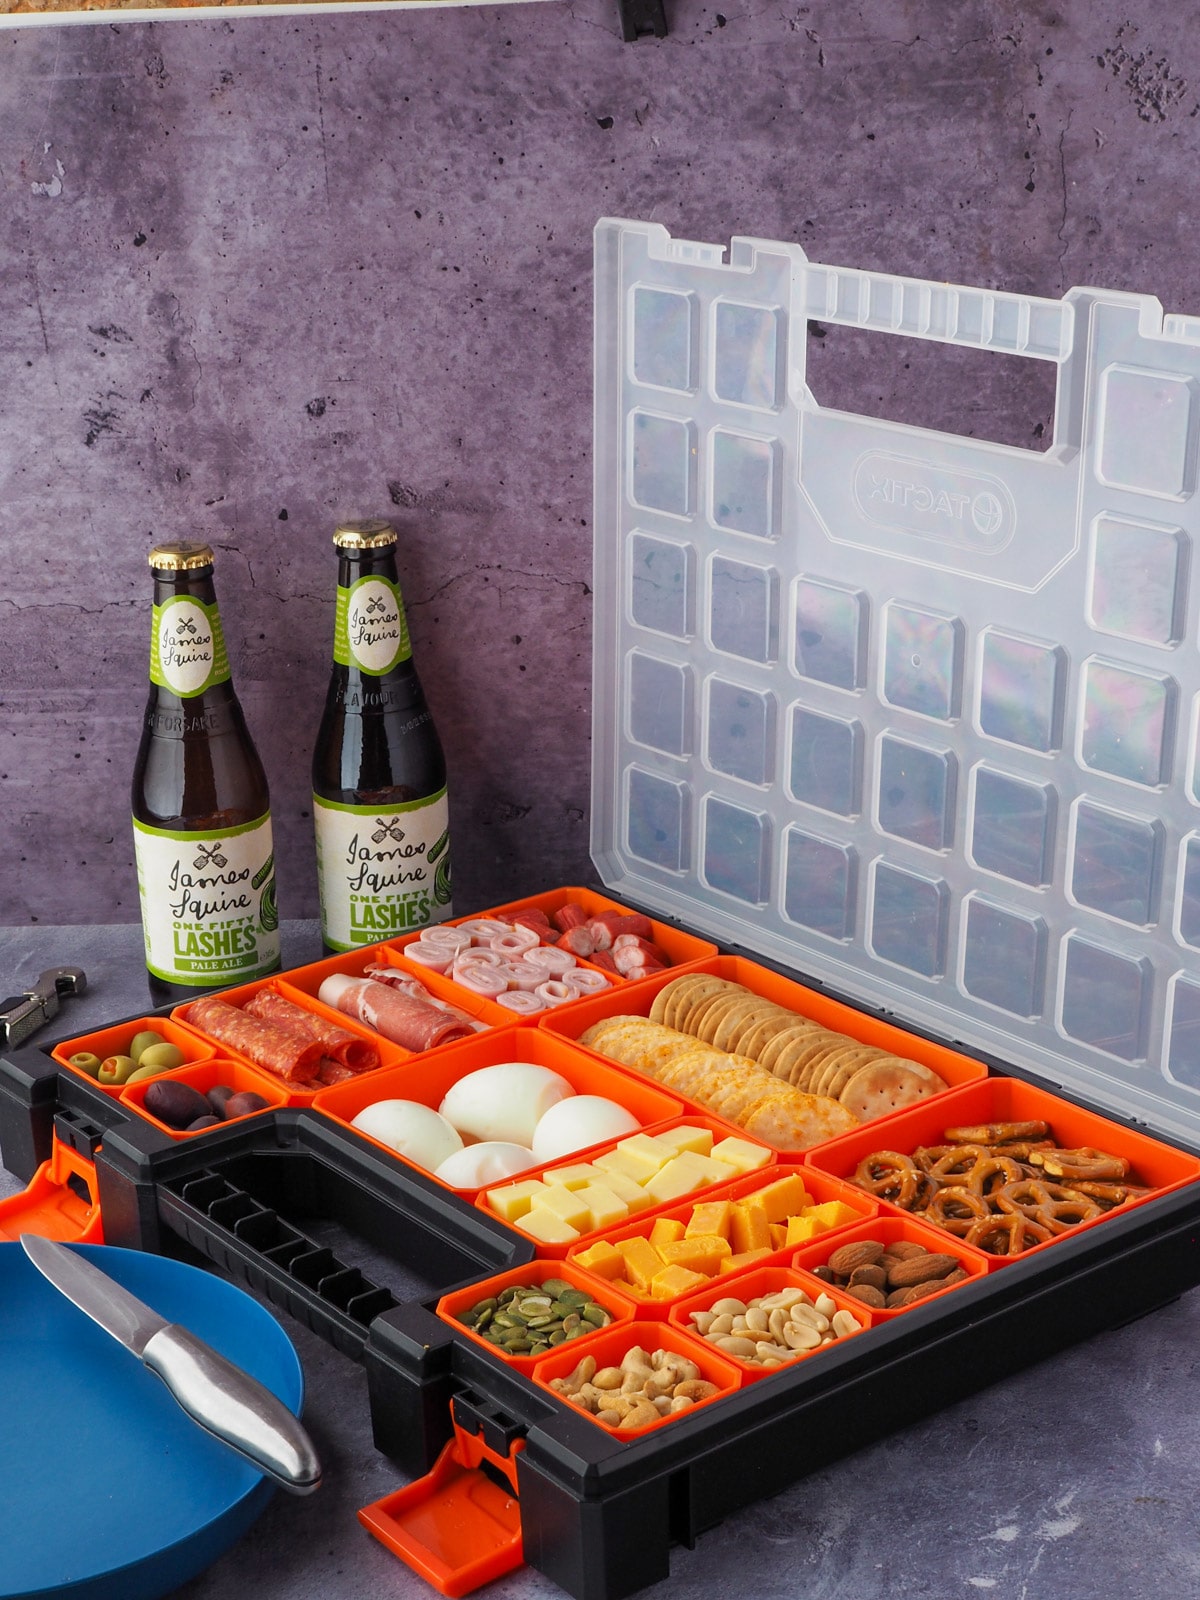
To transport make sure the lid is snapped on tight. Transport upright in an icebox with ice or chill packs.
How to store
Like any charcuterie board this easy charcuterie board is best eaten on the day it's made. With the lid on stored flat it will keep in the fridge for up to two days, provided it has not been left out of the fridge for to long first.
Have you made this recipe? Tell me how it went in the comments below!
Looking for more yummy easy picnic recipes?
Why not try making
Follow me on Facebook for many more delicious recipes.
📖 Recipe
Picnic Charcuterie Board
Ingredients
- 4 large eggs
- 4 slices (200 ish gms) ham
- 10 ish slices (60gms ish) salami
- 10 ish twiggy sticks
- 8 slices (100gm ish) prosciutto
- ¼ cup stuffed green olives
- ¼ cup pitted Kalamata olives
- ¾ small block (150gms ish) tasty cheese
- ¾ small block (150gms ish) red Leister cheese
- ½ packet Plain water crackers
- ¼ packet BBQ rice crackers
- ¼ cup ish Roasted almonds
- ¼ cup ish Cashews
- ¼ cup ish Peanuts
- ¼ cup ish Pumpkin seeds
- 1 & ½ cups ish Pretzels
NB The exact amount you put in will vary depending on the size of your containers. You want to fill them up, without being so full that you can't close the lid properly. Worth testing at home before snaping on the lid.
Instructions
- Boil the eggs. Put them into a heavy bottomed pan, cover with an inch of water above the eggs. Bring to a rapid boil. Cover with lid, turn off the heat and let it finnish cooking. About four minutes for soft boiled eggs and upto ten for fully hard boiled eggs. Once cooked remove from water and put into a bowl of cold, preferably iced water to chill for about ten minutes. Peel and put into a compartment.
- Drain the olives well, pat dry with paper towl and add to the compartments.
- Sliced the cheese and add to the compartments.
- Slice the deli meats into bite sized piecs and add to the compartments.
- Add the crackers, nuts, pumpkin seeds and pretzels to the compartments.
- Snap on the lid and you're done!
Notes
- Use a container with multiple compartments, ideally with completely separate compartments and a well-fitting lid.
- Make sure your container is clean and dry before you start.
- Use dry or mostly dry ingredients that are less likely to leak between compartments.
- Transport your container flat, ideally in an icebox or wrapped in a towel with some freezer blocks to keep it cool.
Join the community!
Like The Aussie Home Cook on Facebook for more great recipes
Pin it for later!


Sylvie
What a fun idea, so perfect for Summer and a great way to entertain kids, friends and family during a picnic 🙂
Pam
Please tell where to purchase that bento box. I only find lunch boxes. That is perfect.
Thank you!!!
Sarah Brooks
Hi Pam, sorry about the late response, we've been away. This is a hardware storage box I got from my local Bunnings. The kind of thing you would normally store nuts and bolts in, but I find it works really well for portable picnic food 🙂 You could try your local hardware stores such as Home Depot or Lowes for something similar. Look for something with individual containers, rather than just dividers, and ideally a lid that fits into each compartment, as it will reduce any seepage between the different food. Finally try to keep the box the right way up as against this will help stop food mixing between containers 🙂
Lovel
where did you get the individual containers that fit into the tackle box?
Sarah Brooks
Hi Lovel,
The storage containers come as a set with the tackle box. It's a re-purposed hardware storage box (that you would store nut, bolts etc in) from my local hardware store 🙂
Susanna
I`ve used this recipe over and over, and it never fails – just wanted to say